









9 Simple Moves and You Have a Perfectly Made Bed
A well-dressed bed is really quite simple to achieve with this step-by-step guide

Lisa Frederick
7 October 2017
Houzz Contributor. After journalism school, I fell into decorating media and immediately discovered a new passion. An Atlanta native, I spent several years as an editor for Atlanta Homes & Lifestyles magazine before making the leap to national publications and websites such as Houzz, Better Homes and Gardens and Southern Accents. I live in Birmingham, Alabama, with my husband and son, who’ve gotten used to coming home and finding the furniture rearranged. When I'm not dragging case goods across the floor, I enjoy good food and wine, college football, music of all kinds, and traveling.
Houzz Contributor. After journalism school, I fell into decorating media and immediately... More
I’m a hotel junkie. One of my favourite things about travel is collapsing at the end of a busy day onto a king-size mattress layered with smartly folded coverlets, piles of pillows arranged just so and smooth sheets pulled tight as a drum. It’s a luxurious change from my less-than-perfect bed making at home (despite my best efforts, the art of the hospital corner eludes me).
However, as I often remind myself, that’s no reason to settle for sloppy sleeping quarters. Here’s a step-by-step guide to a well-dressed, pretty and polished bed.
However, as I often remind myself, that’s no reason to settle for sloppy sleeping quarters. Here’s a step-by-step guide to a well-dressed, pretty and polished bed.
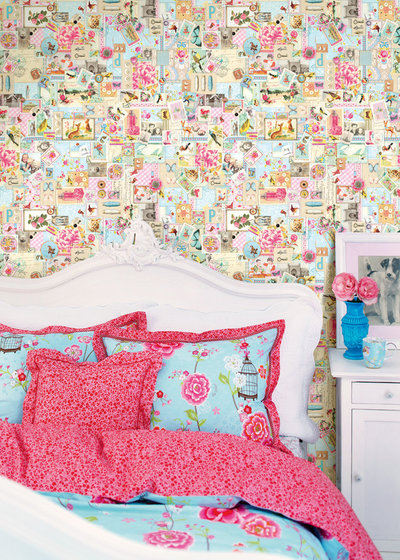
1. Gather your bed linens
The type and quantity of linens you use depends on the style of both your room and your bed. However, most include the following:
• Mattress pad with elastic edging
• Fitted sheet
• Pillowcases
• Quilt/comforter
• 2 standard pillowcases
• 2 European pillowcases (optional)
• Accent pillows (optional)
• Throw or coverlet (optional)
• Bed skirt or box-spring cover (optional)
And So to Bed: Bedding Terms Explained
The type and quantity of linens you use depends on the style of both your room and your bed. However, most include the following:
• Mattress pad with elastic edging
• Fitted sheet
• Pillowcases
• Quilt/comforter
• 2 standard pillowcases
• 2 European pillowcases (optional)
• Accent pillows (optional)
• Throw or coverlet (optional)
• Bed skirt or box-spring cover (optional)
And So to Bed: Bedding Terms Explained
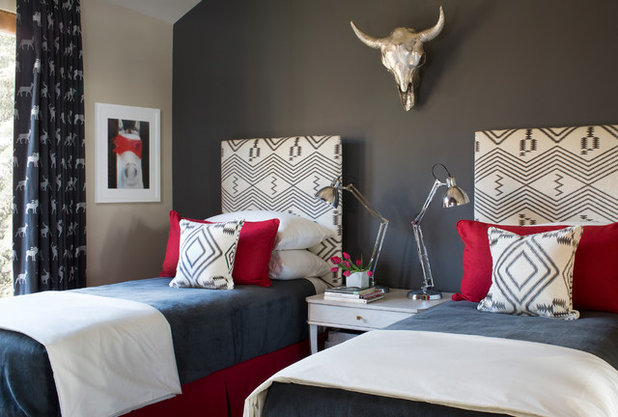
2. Break out the iron
If you’re anything like me, you’d rather walk through Death Valley at high noon in a parka than put your iron to its intended use. (Full disclosure: The last time I unearthed mine, it had cobwebs on it.)
But pressed linens are crisp linens, so face your nemesis. A standard ironing board is too small to handle sheets with ease – cover an inexpensive folding table, or even a large sheet of plywood, with heatproof foam or batting to give you more surface area to work with. Don’t forget the bed skirt and pillowcases while you’re at it.
If you’re anything like me, you’d rather walk through Death Valley at high noon in a parka than put your iron to its intended use. (Full disclosure: The last time I unearthed mine, it had cobwebs on it.)
But pressed linens are crisp linens, so face your nemesis. A standard ironing board is too small to handle sheets with ease – cover an inexpensive folding table, or even a large sheet of plywood, with heatproof foam or batting to give you more surface area to work with. Don’t forget the bed skirt and pillowcases while you’re at it.
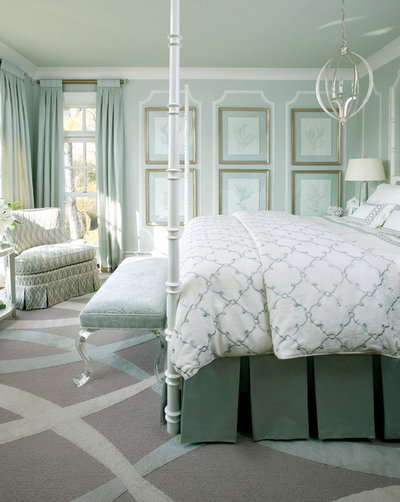
3. Centre and straighten the bed skirt
If your bed style doesn’t require a skirt, you can skip this step, though you may want to invest in a divan cover if your divan is exposed.
If you’re using a bed skirt, centre it in place, making sure the edges are even at the foot and sides. Use unobtrusive pins to anchor it in place.
Get to Know the Humble Bed Skirt
If your bed style doesn’t require a skirt, you can skip this step, though you may want to invest in a divan cover if your divan is exposed.
If you’re using a bed skirt, centre it in place, making sure the edges are even at the foot and sides. Use unobtrusive pins to anchor it in place.
Get to Know the Humble Bed Skirt
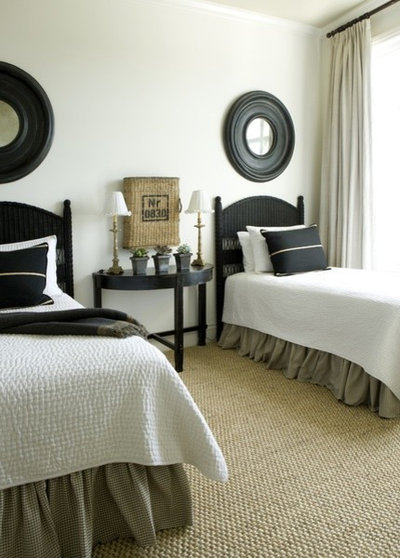
4. Pull the mattress pad smooth
Nothing ruins bedtime comfort faster than a lumpy bottom layer, and pads are notorious for bunching in the centre of the bed.
Elastic edges help, but for extra insurance, hold them in place with safety pins around the bottom edges.
Nothing ruins bedtime comfort faster than a lumpy bottom layer, and pads are notorious for bunching in the centre of the bed.
Elastic edges help, but for extra insurance, hold them in place with safety pins around the bottom edges.
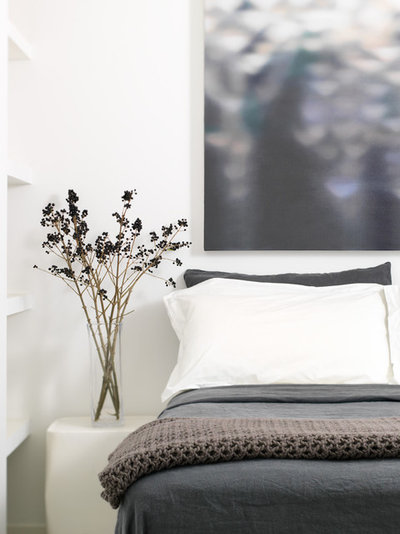
5. Tuck the fitted sheet tightl
For optimal fit, use an extra-deep sheet if you have a pillow-top or an especially tall mattress; otherwise a standard size should work fine. Pull it taut and tuck the edges beneath the mattress.
For optimal fit, use an extra-deep sheet if you have a pillow-top or an especially tall mattress; otherwise a standard size should work fine. Pull it taut and tuck the edges beneath the mattress.
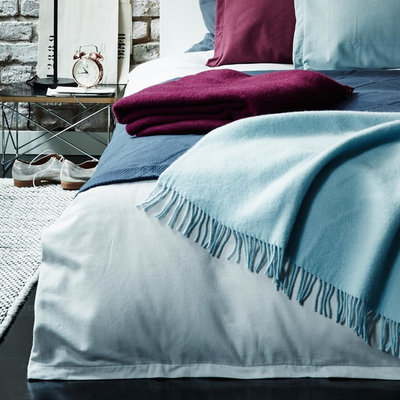
6. Add your desired topper
Spread a cosy quilt over the bed and centre it so that it hangs evenly. Leave the folded-down sheet and blanket exposed at the top, but be sure to cover their bottom edges.
Spread a cosy quilt over the bed and centre it so that it hangs evenly. Leave the folded-down sheet and blanket exposed at the top, but be sure to cover their bottom edges.
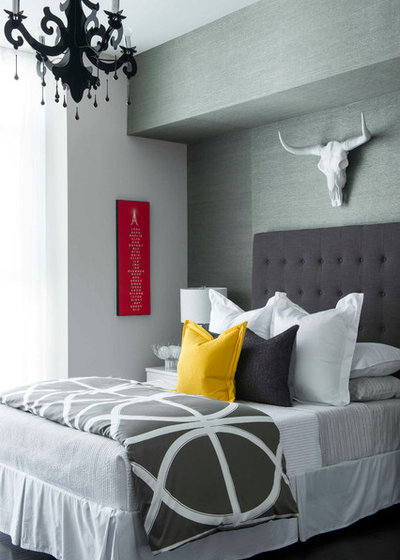
7. Layer the pillows
Start with the pillows you’ll sleep on – slip them into their cases, tag ends first, and align the pillowcase seams with their edges. Plump them up and prop them against the headboard or wall. If you’re using European shams, which are usually between 66 to 81 centimetres square, add those next. Then come standard-size shams, and finally, throw and bolster pillows(three are usually plenty).
Start with the pillows you’ll sleep on – slip them into their cases, tag ends first, and align the pillowcase seams with their edges. Plump them up and prop them against the headboard or wall. If you’re using European shams, which are usually between 66 to 81 centimetres square, add those next. Then come standard-size shams, and finally, throw and bolster pillows(three are usually plenty).
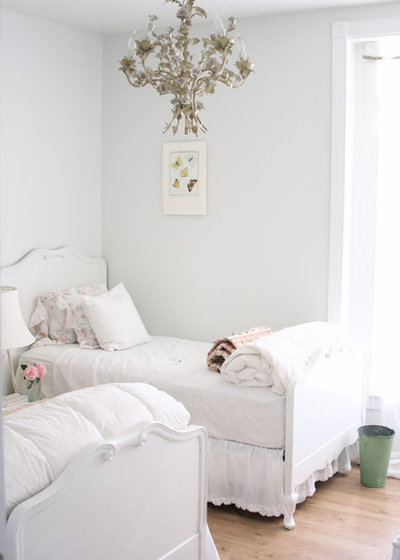
8. Top it off with a coverlet or throw
Fold the coverlet so that it’s about 45 to 60 centimetres across, and place it graphically at the foot of the bed. Or consider rolling it for a fresher twist.
Fold the coverlet so that it’s about 45 to 60 centimetres across, and place it graphically at the foot of the bed. Or consider rolling it for a fresher twist.
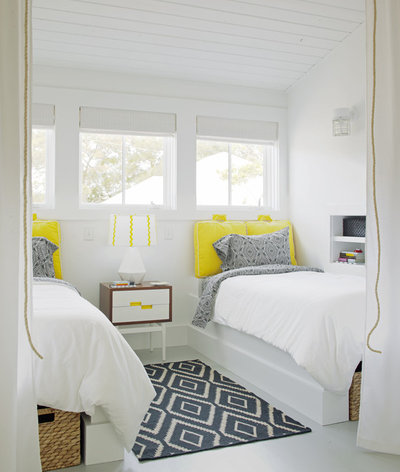
9. Bounce a coin
Can’t do it? Start over. Just kidding… after all your work, you’ve earned the right to a little nap in your luxuriously outfitted nest. Sweet dreams!
TELL US
How often do you change your sheets/quilt covers? How long does it take you? Share in the Comments below.
MORE
Shop for bedding
Can’t do it? Start over. Just kidding… after all your work, you’ve earned the right to a little nap in your luxuriously outfitted nest. Sweet dreams!
TELL US
How often do you change your sheets/quilt covers? How long does it take you? Share in the Comments below.
MORE
Shop for bedding
What are you working on?

Related Stories

More Rooms
Design Your Dream Bedroom With These Key Measurements
Dream big with these essential dimensions that will help your bed and other furnishings fit neatly and comfortably
Full Story

Most Popular
Best of the Week: 36 Platform Beds for Sound Sleep Plus Storage
By Niki Bruce
Platform beds give a modern twist to your bedroom decor and offer lots of extra storage
Full Story
Most Popular
Why Build a Platform Bed
Need more reasons to ask your designer to custom-build a platform bed for your room? Here are six
Full Story

More Rooms
Best of the Week: 29 Stylish Storage Ideas for the Bedroom
How do you keep your sleep sanctuary stylish and clutter-free? These 29 designs lead the way
Full Story
More Rooms
Picture Perfect: 26 Ideas for Using Panelling in Your Bedroom
By Kate Burt
From smart squares to crisp planks, a beautiful panelled wall can really elevate your room
Full Story
More Rooms
7 Ideas to Steal from Well-Designed Tiny Bedrooms
Take inspiration from the clever layouts and genius design tricks in these small but mighty bedrooms
Full Story
More Rooms
Picture Perfect: 20 Bold and Beautiful Bedscapes
Explore this collection of photos where the wall behind the bed takes center stage
Full Story
More Rooms
Best of the Week: 36 Bedside Table Set-Ups
Whether simple will suffice or you want everything within reach, here are 36 bedside situations to get you dreaming
Full Story

More Rooms
10 Ways to Create a Hotel Bedroom at Home
Come home to a 5-star bedroom every day with these 10 easy tips
Full Story
More Rooms
Best of the Week: 20 Small Bedrooms With Super-Sized Storage
Built-in storage can solve small-bedroom woes. Be inspired by 20 sleeping spaces that salute customised cabinetry
Full Story
Really nice article. I'd like to say i'm always thinking about rearranging my kid's bedroom. I wanna buy for him bunk bed from kinder-meubels24 and make a play space on the bottom bed. What do you'all think?
I know I’m not the only one who does this, but I like to double top sheet (maybe because I have a dog). I add a second top sheet on top of my blanket and tuck both sheets and the blanket in at the same time. The second sheet lines with the top of the blanket, the first sheet is a little longer so it covers the blanket when it turns down. I cant imagine taking the effort to use a large table to iron, but I do iron the top few feet of my top sheets and my pillow cases with a regular board. A trick with keeping the bed skirt in place - Velcro.
Great photos of these pristine beds! Great information!